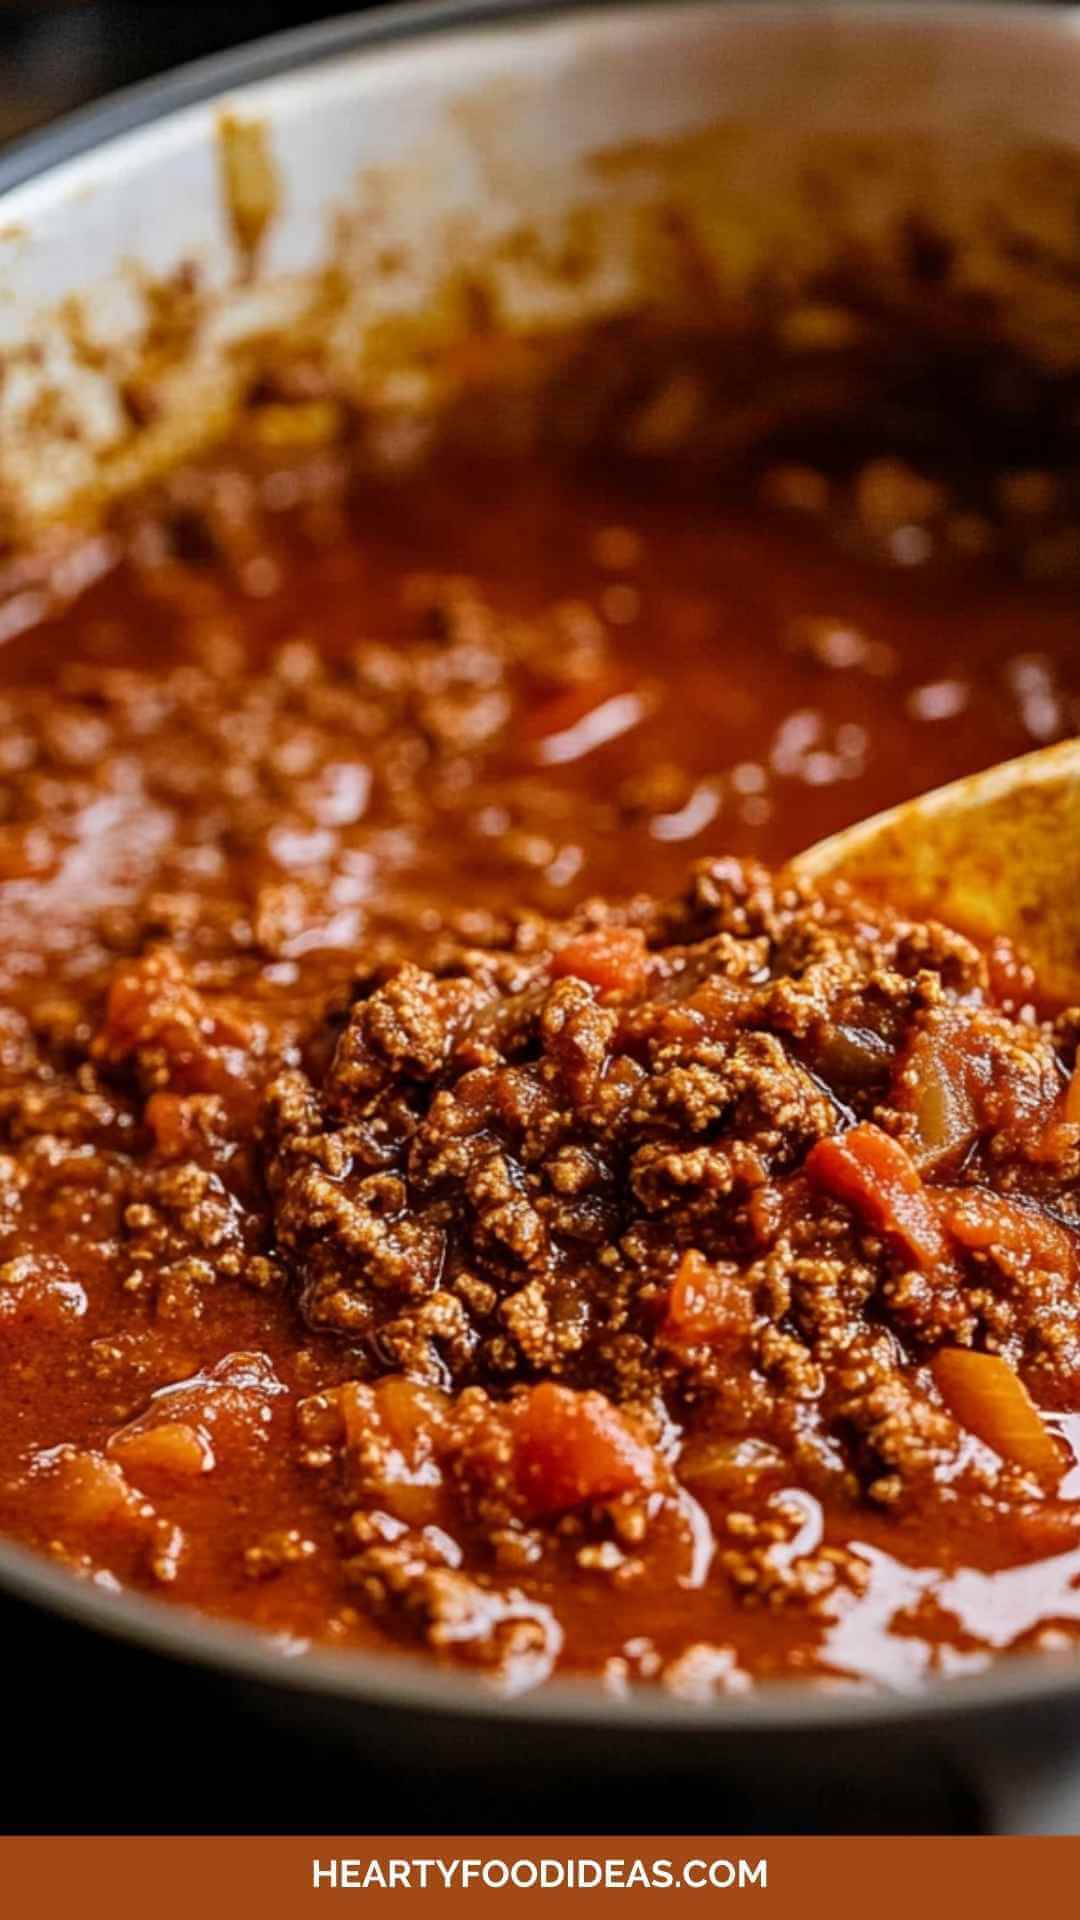
When the temperature dips and the leaves start to turn, my thoughts turn to comforting foods. One dish that captures my imagination is beef chili. Not just any chili though—beef chili without beans. It’s a classic that might not be on everyone’s radar, but trust me, after you try my recipe, your dinner routine will change. Without beans, the flavors and textures shine even brighter!

What is Beef Chili Without Beans?
Beef chili without beans discards the traditional chunky bean texture and instead focuses on a rich, hearty meat base. Picture this: multifaceted layers of flavors come from perfectly sautéed vegetables, aromatic spices, and succulent beef.
Every bite delivers a warm hug, packed with robust taste and satisfaction. You might ask, “But why no beans?” The answer is simple. It allows the beef and spices to take center stage. This chili becomes a canvas for beef lovers, a celebration of everything delicious about ground meat and seasonings.
Why You’ll Love This Beef Chili Without Beans
There’s something about beef chili that screams comfort. It’s filling and flavorful, making it ideal for a chilly evening. Here’s why you’ll fall head over heels for this chili recipe:
Rich Flavor: The combination of spices like cumin, smoked paprika, and chili powder creates depth. Each ingredient plays its part, crafting a dish that dances on your taste buds.
Easy and Quick: In under an hour, you can have a steaming pot of chili ready. There’s no long simmering. Just chop, sauté, and let it cook.
Versatile: You can customize it to suit your palate. Want it spicier? Toss in some chopped jalapeños or a dash of hot sauce. Feel free to make it milder too!
Family-friendly: This dish appeals to both the young and young-at-heart. Serve it with cheese and sour cream, and watch everyone dig in.
Meal Prep Champion: Chili gets better with time. Make it in batches, and you’ve got several dinners or lunches sorted for the week.
The Ingredients
To whip up this beef chili without beans, you’ll need the following:
- 2 pounds ground beef (or substitute with ground turkey for a leaner option)
- 2 tablespoons extra virgin olive oil
- Salt and freshly cracked black pepper, to taste
- 4 cloves garlic, finely minced
- 1 yellow onion, finely chopped
- 1 green bell pepper, diced
- 2 tablespoons chili powder
- 1 teaspoon smoked paprika
- 2 teaspoons ground cumin
- 2 teaspoons dried oregano
- 1 can (6 ounces) tomato paste
- 1 can (28 ounces) diced fire-roasted tomatoes, with juices
- 2 cups low-sodium beef broth (or a mix of 1 cup beer + 1 cup beef broth for a deeper flavor)
- 1 tablespoon Worcestershire sauce
- 1 teaspoon sugar
- 1 bay leaf
For Garnish:
- Shredded sharp cheddar cheese
- Thinly sliced jalapeños, seeded
- Creamy sour cream
- Fresh cilantro, chopped

Step by Step Instructions
Let’s dive into the magic of cooking together!
Step 1: Sauté the Aromatics
First, heat the olive oil in a large pot over medium heat. When it shimmers, toss in the chopped onion and green bell pepper. Sauté them until they become soft and fragrant, about 5 minutes. Add the minced garlic and stir for an additional minute. There’s nothing like the smell of sizzling vegetables to get your appetite going!
Step 2: Brown the Beef
Next, increase the heat to medium-high. Add in the ground beef. Break it up with a wooden spoon and season with salt and freshly cracked black pepper. Cook until the beef is browned and no longer pink, about 7–10 minutes. Don’t rush this step; browning the beef adds a rich flavor to the final dish.
Step 3: Stir in the Spices
Once your beef is thoroughly cooked, it’s time to add the spices. Sprinkle the chili powder, smoked paprika, ground cumin, and dried oregano over the mixture. Stir well so that the spices coat the meat and vegetables. Cook for about 2 minutes, allowing those flavors to intensify.
Step 4: Add the Tomato Paste and Diced Tomatoes
Now, add the tomato paste and canned fire-roasted tomatoes (including their juices). Stir to combine thoroughly. This is where the chili starts to look rich and inviting. I often sneak a taste here to savor the combination of tomatoes and spices!
Step 5: Incorporate Liquids
Next, pour in the beef broth (or beer and beef broth mix) and Worcestershire sauce. Add the sugar and bay leaf, stirring everything together. The mixture should start simmering. If it looks too thick, don’t hesitate to add a bit more broth.
Step 6: Simmer to Perfection
Once it reaches a simmer, reduce the heat to low. Cover the pot and let your chili gently simmer for about 30–40 minutes. This step allows all those flavors to meld beautifully. Stir it occasionally to keep an eye on it.
Step 7: Final Touches
When your timer goes off, taste the chili. Adjust seasoning if needed. Decide how spicy you want it—add extra jalapeños if you dare! Remove the bay leaf before serving.
Tips & Tricks
Before you serve up your beef chili, let me share some handy tips:
Adjust the Consistency: If you prefer a thicker chili, let it simmer uncovered for a bit longer. If you find it too thick, just add more broth or water.
Storage Solutions: This chili keeps well in the fridge for up to five days. Store it in an airtight container for best results.
Flavor Boosting: For a deeper flavor, use smoked beef broth or add some chipotle peppers in adobo sauce.
Don’t Skip the Toppings: Garnishes can elevate your chili. Creamy sour cream and sharp cheddar contrast beautifully against the spicy chili.
Meal Prep Like a Pro: Make a double batch, and freeze half for a rainy day. It thaws beautifully and tastes amazing straight from the freezer.
Can I Store Beef Chili Without Beans?
You bet! This chili is a masterpiece of meal prep. Once cooled, transfer it to an airtight container. It can be refrigerated for up to five days. Want to stretch it even further? Freeze portions in freezer-safe containers for up to three months. Simply defrost overnight in the fridge when you’re ready to enjoy. It hardly gets easier than that!
What Can I Serve with Beef Chili Without Beans?
Pair this chili with some delightful accompaniments:
Buttermilk Cornbread: Sweet and crumbly, perfect for soaking up all that delicious chili.
Tortilla Chips: For a bit of crunch and a dusting of saltiness.
Rice or Quinoa: Serve it over rice for a heartier meal.
Garden Salad: A crisp side salad balances the rich flavor of the chili.
Cheesy Garlic Bread: Who can resist the comfort of garlic butter and melted cheese?
Variations
This chili is incredibly adaptable. Here are some fun variations to consider:
Vegetable Chili: Substitute the beef with an array of hearty vegetables like zucchini, mushrooms, and carrots for a vegetarian version.
Spicy Chili: Add diced jalapeños and extra hot sauce for a fiery kick that’ll please the spice lovers.
Chili with Beer: Swap out part of the beef broth for your favorite beer. It adds a new dimension of flavor.
Tex-Mex Twist: Stir in some corn and black olives for a southwest flair that brings in flavor diversity.
Cheesy Chili: Mix in some cream cheese or cheddar during the cooking process to create a creamy, cheesy delight.

Conclusion
Beef chili without beans is more than just a meal. It’s a celebration of flavor, tradition, and comfort. By following this journey through the ingredients and steps, you’ve equipped yourself with a winning recipe that is versatile and easy to make. With all its delicious variations and fulfilling heartiness, this chili will become a staple in your kitchen for years to come.
Grab a bowl, gather your loved ones, and enjoy the comforting embrace of a dish that warms from the inside out. Cheers to culinary adventures!
You’ll also like the following recipes!
- Chili Copycat Recipe with Black Beans and Ground Beef
- Best Chili Recipe with Pinto Beans And Ground Beef
- How to Make Beef Sausage Chili

Beef Chili Recipe Without Beans – Hearty Food Ideas
Description
When the temperature dips and the leaves start to turn, my thoughts turn to comforting foods. One dish that captures my imagination is beef chili. Not just any chili though—beef chili without beans. It's a classic that might not be on everyone's radar, but trust me, after you try my recipe, your dinner routine will change. Without beans, the flavors and textures shine even brighter!
Ingredients
For Garnish:
Instructions
Step 1: Sauté the Aromatics
-
First, heat the olive oil in a large pot over medium heat. When it shimmers, toss in the chopped onion and green bell pepper. Sauté them until they become soft and fragrant, about 5 minutes. Add the minced garlic and stir for an additional minute. There’s nothing like the smell of sizzling vegetables to get your appetite going!
Step 2: Brown the Beef
-
Next, increase the heat to medium-high. Add in the ground beef. Break it up with a wooden spoon and season with salt and freshly cracked black pepper. Cook until the beef is browned and no longer pink, about 7–10 minutes. Don't rush this step; browning the beef adds a rich flavor to the final dish.
Step 3: Stir in the Spices
-
Once your beef is thoroughly cooked, it’s time to add the spices. Sprinkle the chili powder, smoked paprika, ground cumin, and dried oregano over the mixture. Stir well so that the spices coat the meat and vegetables. Cook for about 2 minutes, allowing those flavors to intensify.
Step 4: Add the Tomato Paste and Diced Tomatoes
-
Now, add the tomato paste and canned fire-roasted tomatoes (including their juices). Stir to combine thoroughly. This is where the chili starts to look rich and inviting. I often sneak a taste here to savor the combination of tomatoes and spices!
Step 5: Incorporate Liquids
-
Next, pour in the beef broth (or beer and beef broth mix) and Worcestershire sauce. Add the sugar and bay leaf, stirring everything together. The mixture should start simmering. If it looks too thick, don’t hesitate to add a bit more broth.
Step 6: Simmer to Perfection
-
Once it reaches a simmer, reduce the heat to low. Cover the pot and let your chili gently simmer for about 30–40 minutes. This step allows all those flavors to meld beautifully. Stir it occasionally to keep an eye on it.
Step 7: Final Touches
-
When your timer goes off, taste the chili. Adjust seasoning if needed. Decide how spicy you want it—add extra jalapeños if you dare! Remove the bay leaf before serving.
Nutrition Facts
Servings 8
- Amount Per Serving
- Calories 260kcal
- % Daily Value *
- Total Fat 12.7g20%
- Saturated Fat 4.7g24%
- Trans Fat 0.3g
- Cholesterol 82mg28%
- Sodium 171mg8%
- Total Carbohydrate 10g4%
- Dietary Fiber 2g8%
- Sugars 4g
- Protein 27g54%
* Percent Daily Values are based on a 2,000 calorie diet. Your daily value may be higher or lower depending on your calorie needs.
Note
Before you serve up your beef chili, let me share some handy tips:
- Adjust the Consistency: If you prefer a thicker chili, let it simmer uncovered for a bit longer. If you find it too thick, just add more broth or water.
- Storage Solutions: This chili keeps well in the fridge for up to five days. Store it in an airtight container for best results.
- Flavor Boosting: For a deeper flavor, use smoked beef broth or add some chipotle peppers in adobo sauce.
- Don’t Skip the Toppings: Garnishes can elevate your chili. Creamy sour cream and sharp cheddar contrast beautifully against the spicy chili.
- Meal Prep Like a Pro: Make a double batch, and freeze half for a rainy day. It thaws beautifully and tastes amazing straight from the freezer.


