
This post contains affiliate links. As an Amazon Associate I earn from qualifying purchases.
I still remember the first time I tried to make creamy chicken pasta at home. I overcooked the chicken until it turned into rubber. The sauce broke and separated into an oily mess. And somehow, the whole dish tasted flat and one-dimensional. Sound familiar? I was so frustrated because I knew this should be simple—it’s just chicken, pasta, and a sauce. But something kept going wrong, and I didn’t understand why. That’s when I realized most recipes skip the why behind each step, leaving home cooks guessing and struggling. If you’ve had the same experience, I want to help you succeed this time.
Why Your Creamy Chicken Pasta Never Turns Out Right (And How to Fix It)
After years of working with clients in my practice here in Saint Louis, I’ve learned that creamy pasta dishes fail for one simple reason: people don’t understand the difference between cooking chicken quickly and cooking a sauce with intention. Most recipes treat these as the same step, which is why your dish turns out one-dimensional and mushy. When I finally separated these techniques—giving the chicken its own time to shine, then building a real sauce from the ground up—everything changed. My chicken stayed tender. My sauce developed actual depth. And my family asked for seconds.
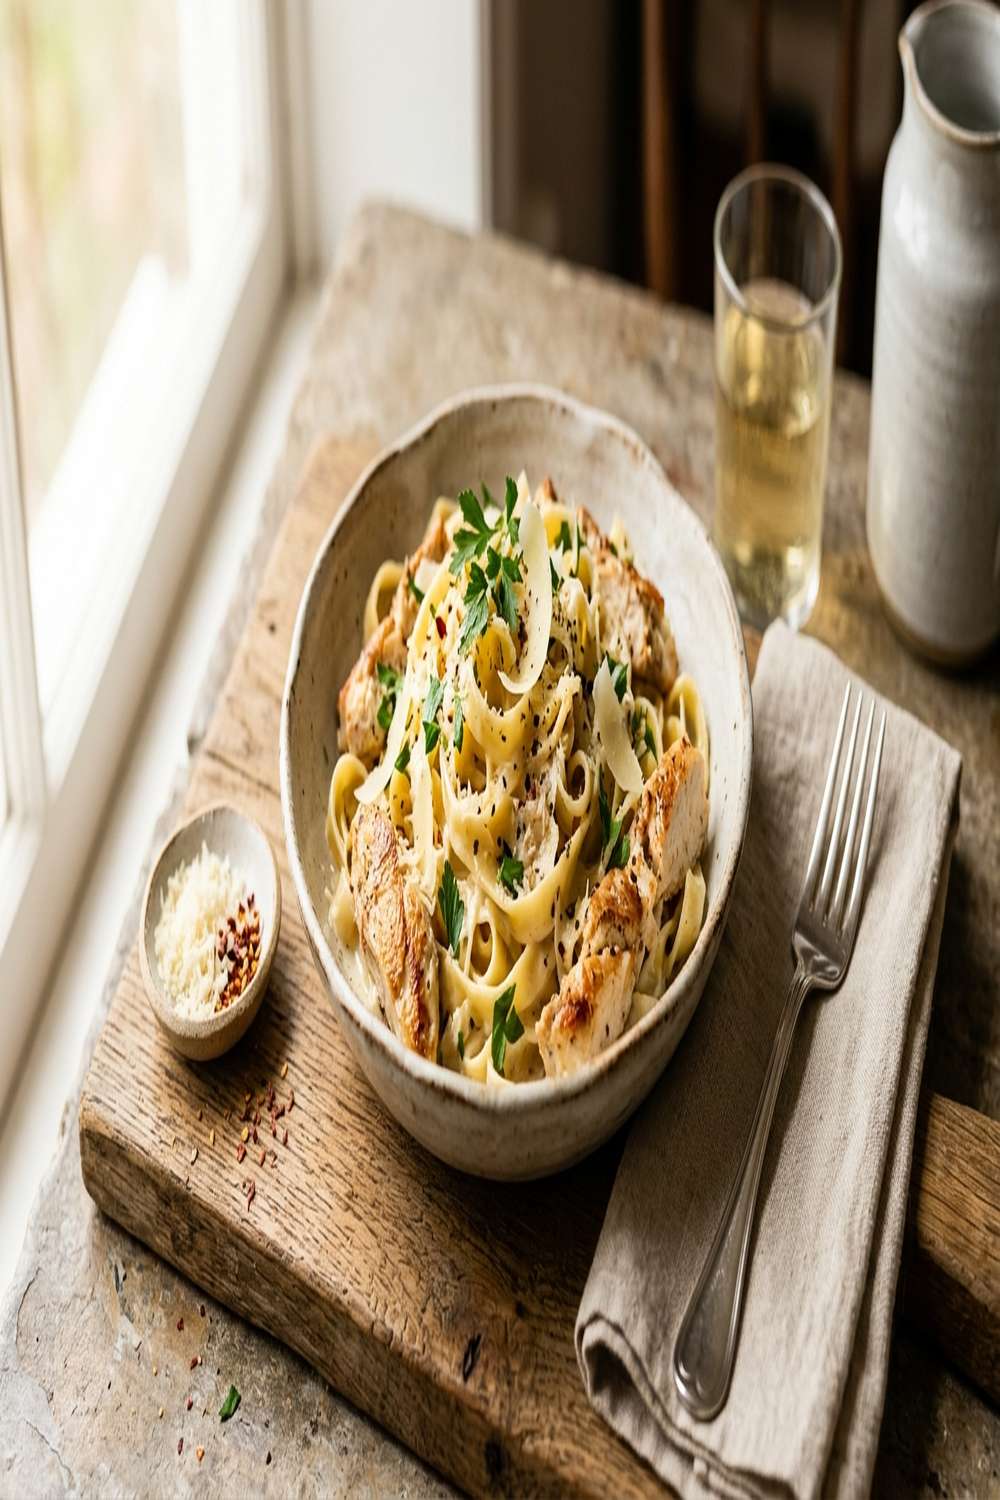
What Makes This Chicken and Fettuccine Recipe Different?
This recipe works because it respects the natural cooking times of each ingredient. The chicken gets a quick sear to lock in moisture and develop flavor—just 5 minutes of focused heat. Then it rests while you build the foundation of your sauce. You’re not rushing a cream-based sauce by combining everything at once. Instead, you’re sautéing mushrooms and onions until they release their natural juices and become deeply flavorful. You’re adding garlic for just 30 seconds so it perfumes the pan without burning. Only then do you add the cream and let it simmer gently until it thickens on its own. This takes patience, but not skill. Your pasta joins at the end, when everything is already delicious. That’s the difference.
Before You Start: What You Need to Know
I want to share two critical insights that most recipes skip entirely. These aren’t fancy techniques—they’re the foundation that separates a good creamy pasta from a great one.
- Half-and-half needs time to thicken, not heat to break. Many home cooks crank the burner to high, thinking speed equals success. But cream-based sauces thicken through gradual, gentle simmering. High heat breaks the emulsion and creates a greasy, separated mess. I simmer mine at medium-high for 8 to 10 minutes, stirring occasionally. This allows the cream to naturally reduce and coat the back of a spoon without any added thickeners or shortcuts.
- Resting your finished dish for 10 to 15 minutes prevents it from drying out as it sits. This simple step prevents the hot pasta from continuing to cook the chicken and prevents the sauce from breaking as it cools slightly. It also allows the flavors to marry together in a way that tastes intentional and balanced rather than hastily thrown together.
The Ingredients
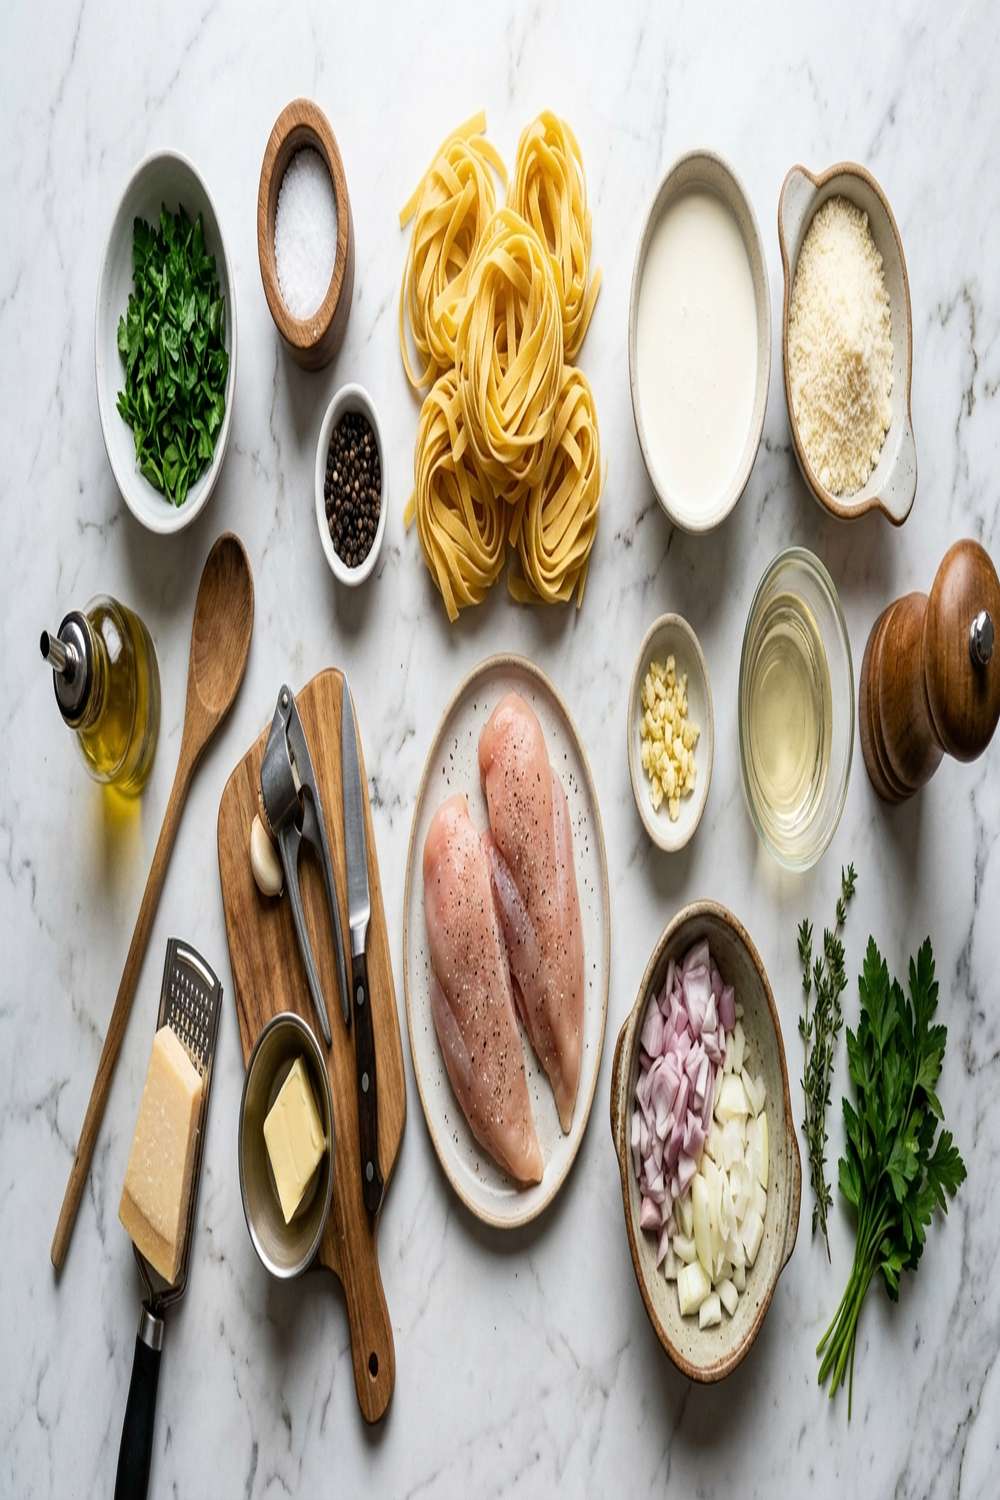
I’ve chosen each ingredient because it plays a specific role in creating a dish that’s both nutritious and deeply satisfying. Let me walk you through why each one matters, so you understand not just what to buy, but why you’re buying it.
- 1 tablespoon unsalted butter (adds richness and helps carry flavors when combined with oil)
- ¾ pound fettuccine pasta (or angel hair or vermicelli if you prefer a thinner noodle)
- ¼ teaspoon black pepper (freshly ground, never pre-ground from a tin)
- 1 tablespoon sea salt (for the pasta cooking water, separate from the seasoning salt above)
- 1 pound fresh white mushrooms (thickly sliced to develop a golden, savory surface)
- 1 small yellow onion (finely chopped to melt into the sauce and provide natural sweetness)
- 3 tablespoons extra-virgin olive oil (divided—high quality matters for the chicken and mushrooms)
- 4 quarts water (for cooking pasta with proper salt ratio)
- 3½ cups heavy cream or half-and-half (creates a luxurious, velvety sauce that clings to every strand of pasta)
- 3 cloves fresh garlic (minced to release maximum flavor without overwhelming the dish)
- 1 teaspoon sea salt (or to taste; crucial for bringing out the flavor of every ingredient)
- ¼ cup fresh flat-leaf parsley (finely chopped, plus extra for garnish—adds brightness and a fresh herbaceous note)
- 2 pounds boneless, skinless chicken breast (sliced into thin strips for even, quick cooking)
Step-by-Step: How to Make Chicken and Fettuccine Without Fail
I’m going to walk you through this recipe with complete confidence. You now understand the why behind each step. Follow these instructions exactly, and you’ll have a dinner that tastes like it came from a restaurant kitchen—but tastes even better because you made it with your own hands.
Step 1: Bring Your Pasta Water to a Rolling Boil
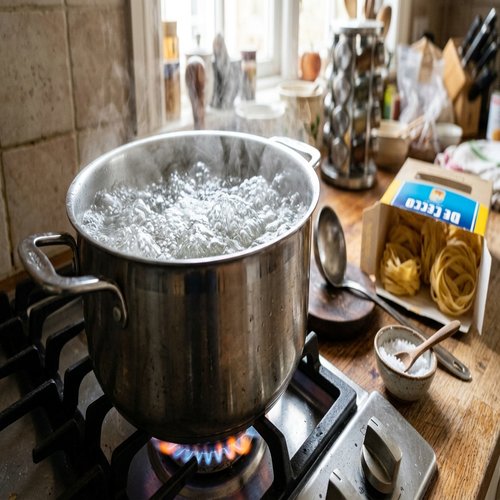
Fill a large pot with 4 quarts of cold water and set it on high heat. Once it comes to a rolling boil—and this is important—add 1 tablespoon of sea salt. The water should taste like ocean water. This is your only opportunity to season the pasta itself. Stir the salt in and let it dissolve completely. Now add your fettuccine and cook according to the package instructions, usually 9 to 12 minutes depending on the brand. You want the pasta to be al dente—tender with just a slight firmness when you bite it. Don’t overcook it, because it will continue to soften when it meets the warm sauce. Drain the pasta in a colander and set it aside.
Step 2: Season and Sear Your Chicken
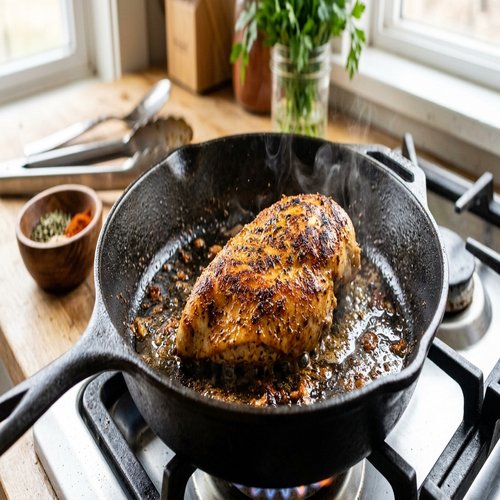
While your pasta water heats, prepare your chicken. Slice the 2 pounds of boneless chicken breast into strips about ½ inch thick. This thickness allows them to cook evenly in just 5 minutes—not long enough to dry out, but long enough to develop a light golden color on the outside. Season all sides generously with salt and pepper. Heat 2 tablespoons of olive oil in a large skillet over medium-high heat. The oil should shimmer and move easily when you tilt the pan. Lay your chicken strips in the pan without moving them for the first 2 minutes. This creates that golden crust we’re after. Then flip and cook for another 2 to 3 minutes until the chicken is cooked through and no longer pink in the center. Remove the chicken to a clean plate and cover it loosely with foil to keep it warm while you build your sauce.
Step 3: Sauté Your Aromatics and Build Your Sauce Foundation
In the same skillet (don’t wash it—those browned bits are pure flavor), heat the remaining 1 tablespoon of olive oil and the butter over medium-high heat. Once the butter foams, add your finely chopped onion and sauté for exactly 3 minutes, stirring occasionally. The onion will soften and become translucent. Now add your thickly sliced mushrooms. This is where patience pays off. Sauté the mushrooms for 5 to 7 minutes, stirring frequently. You’ll notice they first release liquid, then that liquid evaporates, and finally they develop a beautiful golden-brown surface. This is called the Maillard reaction—it’s where deep, savory flavor comes from. Don’t rush this step. Once your mushrooms are golden, add your minced garlic and stir constantly for exactly 30 seconds. Any longer and garlic becomes bitter.
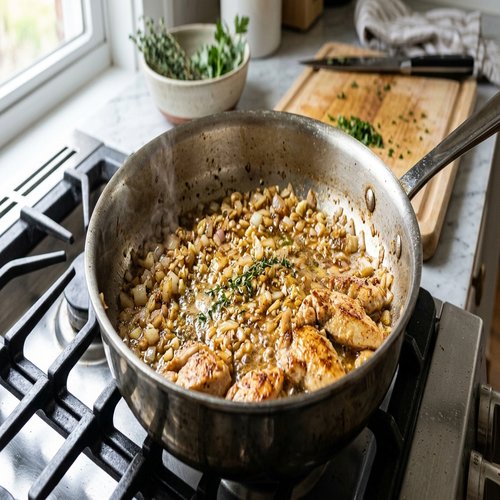
Step 4: Create Your Creamy Sauce Through Gentle Simmering
Pour in your 3½ cups of half-and-half all at once. Stir to combine everything together. Increase the heat to medium-high and let the sauce come to a gentle simmer. You’re looking for small bubbles breaking the surface consistently, not a hard rolling boil. Simmer for 8 to 10 minutes, stirring occasionally. As you stir, you’ll notice the sauce gradually thickening. This happens naturally as the cream reduces and coats the back of a spoon. When you run your finger across the back of a spoon, it should leave a clear trail. That’s your signal that the sauce is perfectly thickened.
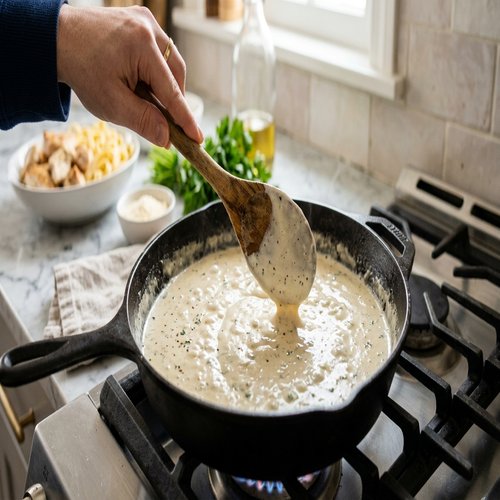
Step 5: Reunite Your Chicken and Season to Perfection
Return your cooked chicken strips to the skillet with the cream sauce. Add your ¼ cup of finely chopped fresh parsley. Taste the sauce and adjust seasoning with salt and pepper. I typically add ½ to 1 teaspoon more salt, depending on how well your cooking water was salted. The sauce should taste bright and balanced—not oversalted, but flavorful enough that every bite tastes intentional.
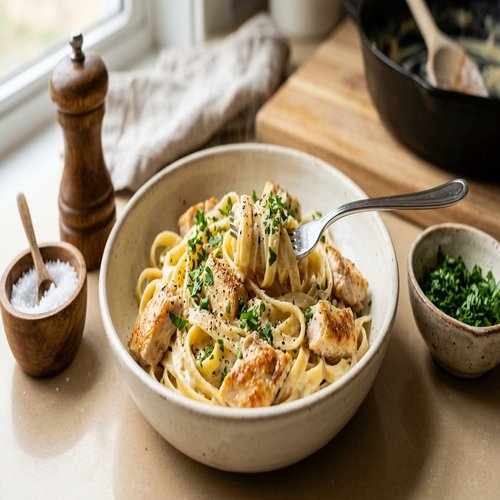
Step 6: Combine Your Pasta and Let It Rest
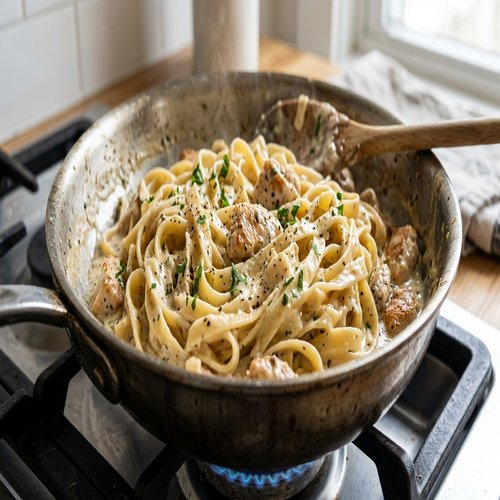
Add your drained fettuccine directly to the skillet with the sauce and chicken. Stir gently to combine everything, making sure every strand of pasta gets coated. Heat for one more minute until the entire dish is warmed through. Now comes the step that makes everything perfect: turn off the heat, cover the skillet, and let it rest for 10 to 15 minutes. This rest period is where the magic happens. The residual heat gently finishes cooking the chicken. The sauce sets slightly and becomes more luxurious. Most importantly, the flavors marry together into something that tastes like it was meant to be one dish, not four separate components hastily combined. Give it a final stir and serve immediately, garnished with fresh parsley.
The Most Common Mistakes (And How to Avoid Them)
- Cooking the chicken on too high heat or leaving it in the pan too long. Chicken breast is lean and dries out quickly. If your heat is above medium-high or your chicken cooks for more than 5 minutes, it becomes tough and rubbery. The solution is simple: use medium-high heat, slice your chicken thin, and remove it as soon as it’s no longer pink in the center. It will continue cooking slightly from residual heat.
- Rushing the cream sauce or using high heat to thicken it. This is the number-one reason creamy sauces break and separate. High heat damages the delicate emulsion that keeps cream smooth and velvety. Instead, use medium-high heat and let the sauce simmer gently for 8 to 10 minutes. Patience thickens cream better than any high-heat shortcut ever will.
- Skipping the rest period at the end. I understand—you’re hungry and the food is hot. But those 10 to 15 minutes of resting allow the dish to finish cooking properly and taste infinitely better. If you skip this step, your chicken will taste overcooked, your sauce will be thinner, and your flavors won’t feel integrated. The rest period is not optional—it’s the final, crucial step that takes your dish from good to exceptional.
How Do I Know When It’s Done?
Your chicken is done when it’s no longer pink in the thickest part and registers 165°F on an instant-read thermometer. This takes about 5 minutes of cooking. Your sauce is done when it coats the back of a spoon and leaves a clear trail when you run your finger across it. Your pasta is done when it’s tender but still has a slight firmness when you bite it—this is called al dente. And your entire dish is ready to serve when it’s been sitting for 10 to 15 minutes, covered, after you turn off the heat. You’ll know it’s perfectly rested when the sauce has set slightly and clings beautifully to every strand of pasta. The color should be a pale golden cream, not separated or greasy.
Troubleshooting: When Things Go Wrong
- My sauce looks separated and oily. This means your heat was too high at some point, which damaged the cream emulsion. Here’s how to fix it mid-cook: remove the skillet from heat and let it cool for 2 minutes. Then whisk in 2 to 3 tablespoons of cold half-and-half, whisking constantly to re-emulsify the sauce. Return the skillet to medium heat and stir gently until the sauce looks smooth again. Next time, keep your heat at medium-high and stir frequently.
- My chicken turned out tough and rubbery. This happened because your heat was too high or your chicken cooked for longer than 5 minutes. You can’t fix overcooked chicken during cooking, but you can prevent it next time by slicing your chicken thin, using medium-high heat (not high), and removing it the moment it’s no longer pink. Thin slices cook in exactly 5 minutes if you slice them consistently.
- My sauce never thickened. This typically means your cream wasn’t hot enough or you didn’t simmer it long enough. Cream needs 8 to 10 minutes of gentle simmering to reduce and thicken naturally. If your sauce is still too thin after 10 minutes, make sure your heat is truly at medium-high and that you’re seeing small bubbles breaking the surface. If it’s still thin after another 2 minutes of simmering, you likely need more salt, which draws out liquid and helps thickening. Add ½ teaspoon more salt and simmer another minute.
Can I Store Chicken and Fettuccine?
Absolutely. This dish stores beautifully, which makes it perfect for meal prep or having leftovers for lunch the next day. Let the finished dish cool to room temperature, then transfer it to an airtight container and refrigerate for up to 3 days. When you’re ready to eat it, gently reheat it on the stovetop over low heat with a splash of half-and-half or whole milk to restore the sauce’s creamy texture. The pasta may absorb some of the sauce as it sits, so the extra liquid helps bring it back to its original consistency. You can also freeze this dish for up to 2 months, though the texture of the pasta becomes slightly softer after thawing. I recommend freezing before you add the pasta, then cooking the pasta fresh when you thaw and reheat the sauce and chicken.
Nutrition Information
One serving of this creamy chicken and fettuccine (approximately 1½ cups) provides approximately 520 calories, 45 grams of protein, 28 grams of fat, and 32 grams of carbohydrates, based on USDA nutrient database standards. The protein from the chicken breast supports muscle maintenance and repair, while the carbohydrates from the pasta provide energy for your body throughout the day. The healthy fat in olive oil and cream helps your body absorb fat-soluble vitamins like A, D, E, and K. As a registered dietitian, I appreciate that this dish brings real, recognizable ingredients together—no artificial thickeners, no shortcuts. The fresh mushrooms add B vitamins and minerals like selenium and potassium. The parsley provides vitamin K and acts as a natural flavor booster, allowing you to use less salt while still achieving a deeply savory taste. This is comfort food that actually nourishes your body, which is exactly what food should do.
What Can I Serve With Chicken and Fettuccine?
This creamy pasta is rich and satisfying on its own, but it pairs beautifully with lighter sides that balance the richness of the sauce. A fresh green salad with lemon vinaigrette cuts through the cream and cleanses your palate between bites. Garlic bread is a classic pairing, though if you want something lighter, try toasted bread rubbed with a cut garlic clove and a drizzle of olive oil. Roasted or steamed vegetables like broccoli, green beans, or asparagus add color, texture, and nutrition to your plate. For something special, consider making a Baked Lemon Donut for dessert if you want to continue the homemade theme. A simple green vegetable is my personal favorite because it provides contrast to the creamy main course.
- Simple green salad with lemon vinaigrette – the acidity cuts through the richness of the cream sauce and refreshes your palate
- Garlic bread or toasted ciabatta – soaks up any extra sauce and adds satisfying crunch
- Roasted asparagus or green beans – adds color, nutrients, and a lighter textural contrast to the soft pasta
- Steamed broccoli with a squeeze of fresh lemon – provides cruciferous vegetables and bright citrus notes that complement the savory cream sauce
Chicken And Fettuccine Recipe
Ingredients
- 1 tablespoon unsalted butter adds richness and helps carry flavors when combined with oil
- ¾ pound fettuccine pasta or angel hair or vermicelli if you prefer a thinner noodle
- ¼ teaspoon black pepper freshly ground, never pre-ground from a tin
- 1 tablespoon sea salt for the pasta cooking water, separate from the seasoning salt above
- 1 pound fresh white mushrooms thickly sliced to develop a golden, savory surface
- 1 small yellow onion finely chopped to melt into the sauce and provide natural sweetness
- 3 tablespoon extra-virgin olive oil (divided
- 4 quarts water for cooking pasta with proper salt ratio
- 3½ cup heavy cream or half-and-half creates a luxurious, velvety sauce that clings to every strand of pasta
- 3 clove fresh garlic minced to release maximum flavor without overwhelming the dish
- 1 teaspoon sea salt or to taste; crucial for bringing out the flavor of every ingredient
- ¼ cup fresh flat-leaf parsley (finely chopped, plus extra for garnish
- 2 pound boneless, skinless chicken breast sliced into thin strips for even, quick cooking
Instructions
Step 1: Bring Your Pasta Water to a Rolling Boil
- Fill a large pot with 4 quarts of cold water and set it on high heat. Once it comes to a rolling boil—and this is important—add 1 tablespoon of sea salt. The water should taste like ocean water. This is your only opportunity to season the pasta itself. Stir the salt in and let it dissolve completely. Now add your fettuccine and cook according to the package instructions, usually 9 to 12 minutes depending on the brand. You want the pasta to be al dente—tender with just a slight firmness when you bite it. Don't overcook it, because it will continue to soften when it meets the warm sauce. Drain the pasta in a colander and set it aside.
Step 2: Season and Sear Your Chicken
- While your pasta water heats, prepare your chicken. Slice the 2 pounds of boneless chicken breast into strips about ½ inch thick. This thickness allows them to cook evenly in just 5 minutes—not long enough to dry out, but long enough to develop a light golden color on the outside. Season all sides generously with salt and pepper. Heat 2 tablespoons of olive oil in a large skillet over medium-high heat. The oil should shimmer and move easily when you tilt the pan. Lay your chicken strips in the pan without moving them for the first 2 minutes. This creates that golden crust we're after. Then flip and cook for another 2 to 3 minutes until the chicken is cooked through and no longer pink in the center. Remove the chicken to a clean plate and cover it loosely with foil to keep it warm while you build your sauce.
Step 3: Sauté Your Aromatics and Build Your Sauce Foundation
- In the same skillet (don't wash it—those browned bits are pure flavor), heat the remaining 1 tablespoon of olive oil and the butter over medium-high heat. Once the butter foams, add your finely chopped onion and sauté for exactly 3 minutes, stirring occasionally. The onion will soften and become translucent. Now add your thickly sliced mushrooms. This is where patience pays off. Sauté the mushrooms for 5 to 7 minutes, stirring frequently. You'll notice they first release liquid, then that liquid evaporates, and finally they develop a beautiful golden-brown surface. This is called the Maillard reaction—it's where deep, savory flavor comes from. Don't rush this step. Once your mushrooms are golden, add your minced garlic and stir constantly for exactly 30 seconds. Any longer and garlic becomes bitter.
Step 4: Create Your Creamy Sauce Through Gentle Simmering
- Pour in your 3½ cups of half-and-half all at once. Stir to combine everything together. Increase the heat to medium-high and let the sauce come to a gentle simmer. You're looking for small bubbles breaking the surface consistently, not a hard rolling boil. Simmer for 8 to 10 minutes, stirring occasionally. As you stir, you'll notice the sauce gradually thickening. This happens naturally as the cream reduces and coats the back of a spoon. When you run your finger across the back of a spoon, it should leave a clear trail. That's your signal that the sauce is perfectly thickened.
Step 5: Reunite Your Chicken and Season to Perfection
- Return your cooked chicken strips to the skillet with the cream sauce. Add your ¼ cup of finely chopped fresh parsley. Taste the sauce and adjust seasoning with salt and pepper. I typically add ½ to 1 teaspoon more salt, depending on how well your cooking water was salted. The sauce should taste bright and balanced—not oversalted, but flavorful enough that every bite tastes intentional.
Step 6: Combine Your Pasta and Let It Rest
- Add your drained fettuccine directly to the skillet with the sauce and chicken. Stir gently to combine everything, making sure every strand of pasta gets coated. Heat for one more minute until the entire dish is warmed through. Now comes the step that makes everything perfect: turn off the heat, cover the skillet, and let it rest for 10 to 15 minutes. This rest period is where the magic happens. The residual heat gently finishes cooking the chicken. The sauce sets slightly and becomes more luxurious. Most importantly, the flavors marry together into something that tastes like it was meant to be one dish, not four separate components hastily combined. Give it a final stir and serve immediately, garnished with fresh parsley.
Notes
FAQs
Can I use chicken thighs instead of chicken breast?
Yes, and honestly, chicken thighs might give you even better results. Thighs are naturally more forgiving than breast meat because they contain more fat and won’t dry out as easily. You’ll need to increase the cooking time to 7 to 8 minutes instead of 5 minutes, since thighs are thicker. Make sure they’re still sliced thin and check that the thickest part registers 165°F on an instant-read thermometer. The flavor will be richer and more complex, which pairs beautifully with the creamy sauce.
What if I don’t have half-and-half? Can I use heavy cream or milk instead?
You can, but the results will be different. Heavy cream (all cream, no milk) will create a richer, denser sauce—reduce the amount to 3 cups instead of 3½ cups to prevent it from being too heavy. Whole milk will create a thinner sauce—you may need to add a tablespoon of cornstarch mixed with 2 tablespoons of cold milk to help it thicken. I specifically chose half-and-half because it strikes the perfect balance between richness and consistency without needing thickeners or shortcuts.
Can I make this dish ahead of time?
Yes, with a small modification. Prepare the sauce, mushrooms, and chicken up to 2 days ahead and store them separately in airtight containers. Cook your pasta fresh the day you plan to serve it. Then combine everything and do the 10 to 15-minute rest period before serving. This approach saves you time on the actual cooking day while ensuring your pasta is perfectly al dente.
My family prefers less cream. Can I reduce the amount?
Absolutely. You can reduce the half-and-half to 3 cups for a lighter sauce that still coats the pasta beautifully. Start with 3 cups and simmer for 8 to 10 minutes. Taste it, and if you want it thicker, simmer another minute or two. If you want it thinner, add a splash of whole milk. The key is tasting as you go and adjusting to your family’s preferences. This dish is flexible enough to work for different palates.
What’s the best way to reheat leftovers without drying out the chicken?
Reheat on the stovetop over low heat rather than in the microwave, which can make the chicken tough. Add a splash of whole milk or half-and-half to the sauce before reheating—the pasta absorbs liquid as it sits, so extra moisture restores the creamy texture. Stir gently and heat until it’s warm throughout, about 5 to 7 minutes. Never let it come to a boil, or you’ll break the sauce emulsion again.
Expert’s Nutritional Tip
As a registered dietitian, I want you to understand something important about the mushrooms in this dish. They’re not just flavor—they’re functional nutrition. Fresh mushrooms contain compounds called beta-glucans that support your immune system. They’re also naturally rich in umami, that savory, satisfying flavor that makes you feel fuller with less food. This means by using ½ pound more mushrooms than some recipes call for, you’re creating a sauce that’s more flavorful and more satisfying, so you naturally eat less overall. This is real nutrition working in your favor, not against it. Mushrooms are one of my favorite ways to add depth to creamy dishes while actually improving the nutritional profile.
Make-Ahead Guide
I understand that life is busy. You want to cook less on weeknights, not more. Here’s how I approach meal prep with this dish: On Sunday, prepare everything except the pasta. Cook your chicken through step 2 and store it in an airtight container. Sauté your mushrooms and onions through step 3 and store them separately. Make your sauce through step 4 and refrigerate it in a separate container. Everything keeps for 3 days. On the night you want to serve it, you only need to cook the pasta fresh (about 12 minutes) and quickly warm everything together. The total active cooking time on the day you serve it is just 15 minutes, and it tastes like you spent an hour in the kitchen. This is how real meal prep works—it’s not about eating the same thing all week. It’s about spreading the work across your week so no single night feels overwhelming.
Seasonal Variations
Spring: Add fresh asparagus or peas in the last minute of cooking. The bright green color and fresh flavor lighten the richness of the cream sauce. Add a sprinkle of fresh lemon zest to the finished dish.
Summer: Incorporate fresh cherry tomatoes, halved and added at the very end so they warm through but don’t break down. Add fresh basil instead of (or alongside) the parsley. Consider using angel hair pasta instead of fettuccine—it feels lighter in warm weather.
Fall: Brown sage leaves in butter and drizzle over the finished dish. Add roasted butternut squash (cubed small) to the sauce in the last few minutes. The sweetness of squash pairs beautifully with cream and sage.
Winter: This is the dish I make exactly as written. However, you can add crispy bacon, caramelized onions, or roasted garlic for deeper, richer flavors that feel warming and comforting when the weather turns cold.
More Recipes You’ll Love
- my oven-baked chicken – fresh tomato and mozzarella with chicken for a lighter summer variation
- Baked Mac N Cheese Recipe – another creamy pasta dish using similar sauce techniques
- my oven-baked chicken – a different approach to cooking chicken that’s just as tender and flavorful
You now have everything you need to make creamy chicken and fettuccine that tastes restaurant-quality and feels completely stress-free. You understand the why behind each step. You know how to troubleshoot when something goes wrong. You know how to store it, reheat it, and adapt it to your family’s preferences and the season. Most importantly, you know that you can do this. I’ve walked through this recipe hundreds of times with clients, and every single one of them has succeeded when they follow these steps with intention. You’re not learning a recipe—you’re learning a technique that will serve you in countless dishes for years to come. Go into your kitchen confident. Your family is going to taste the love you’re putting into this meal. Happy cooking!