
This post contains affiliate links. As an Amazon Associate I earn from qualifying purchases.
Whether you’re managing keto macros, following a plant-based lifestyle, or simply looking for a quick breakfast that tastes like dessert, this chocolate peanut butter smoothie meets you exactly where you are. I created this recipe because I kept hearing the same thing in my nutrition practice: “Glennis, I love these flavors, but they don’t fit my diet.” That broke my heart a little. So I built a smoothie that works for everyone, with simple swaps that take seconds. If you’re craving something indulgent without the guilt, pair this with our Baked Lemon Donut Recipe for a complete breakfast experience.
Which Version Is Right for You?
I’ve learned that one person’s perfect smoothie is another person’s non-starter. That’s why I built this recipe with flexibility at its heart. Whether you’re watching carbs, ditching animal products, avoiding gluten, or cutting out dairy, you’ll find your match here. The beauty is that the base—that chocolate-peanut butter magic—stays the same. Only the liquid and sweetener change, which means you’re never far from something delicious.
- Keto version – Swap the banana for half an avocado (creamy texture, zero sugar spike) and use allulose or erythritol instead of honey. Expect a rich, fudgy smoothie that keeps you satisfied for hours.
- Vegan version – Use coconut or almond milk and skip any honey; add maple syrup or agave instead. The result is still creamy, completely plant-based, and tastes like a treat you shouldn’t be having for breakfast.
- Gluten-free version – This version is naturally gluten-free since we’re using whole foods. Just verify your cocoa powder and peanut butter labels for cross-contamination if you have celiac disease.
- Dairy-free version – Oat, cashew, or hemp milk work beautifully here. The smoothie stays creamy and rich without any animal products whatsoever.
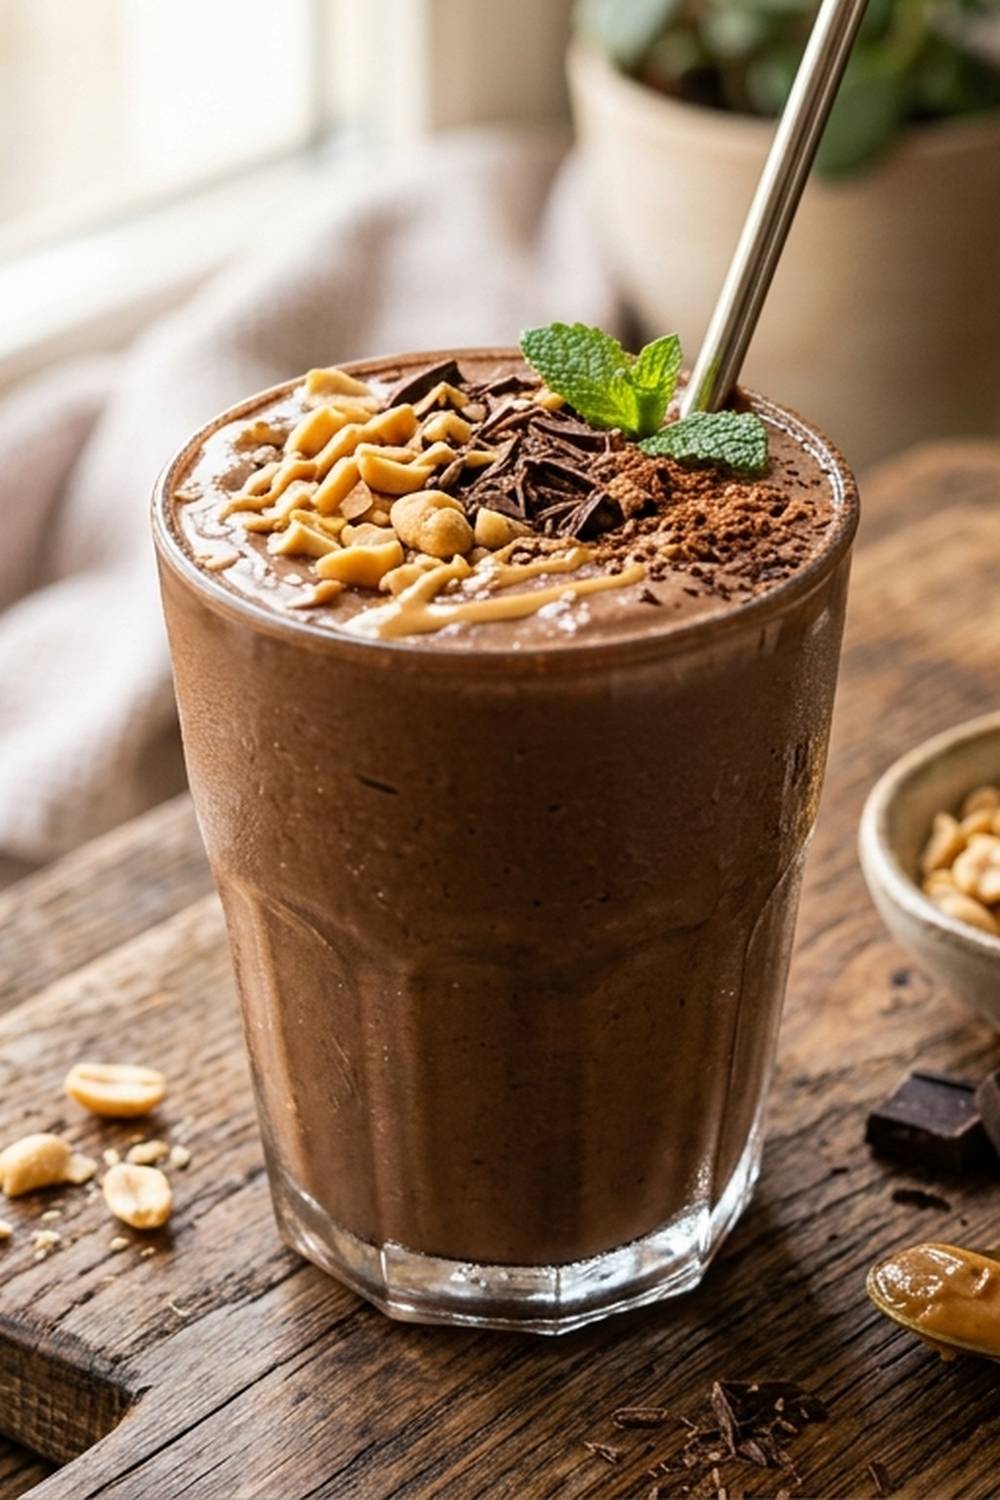
The Base Ingredients (Works for All Versions)
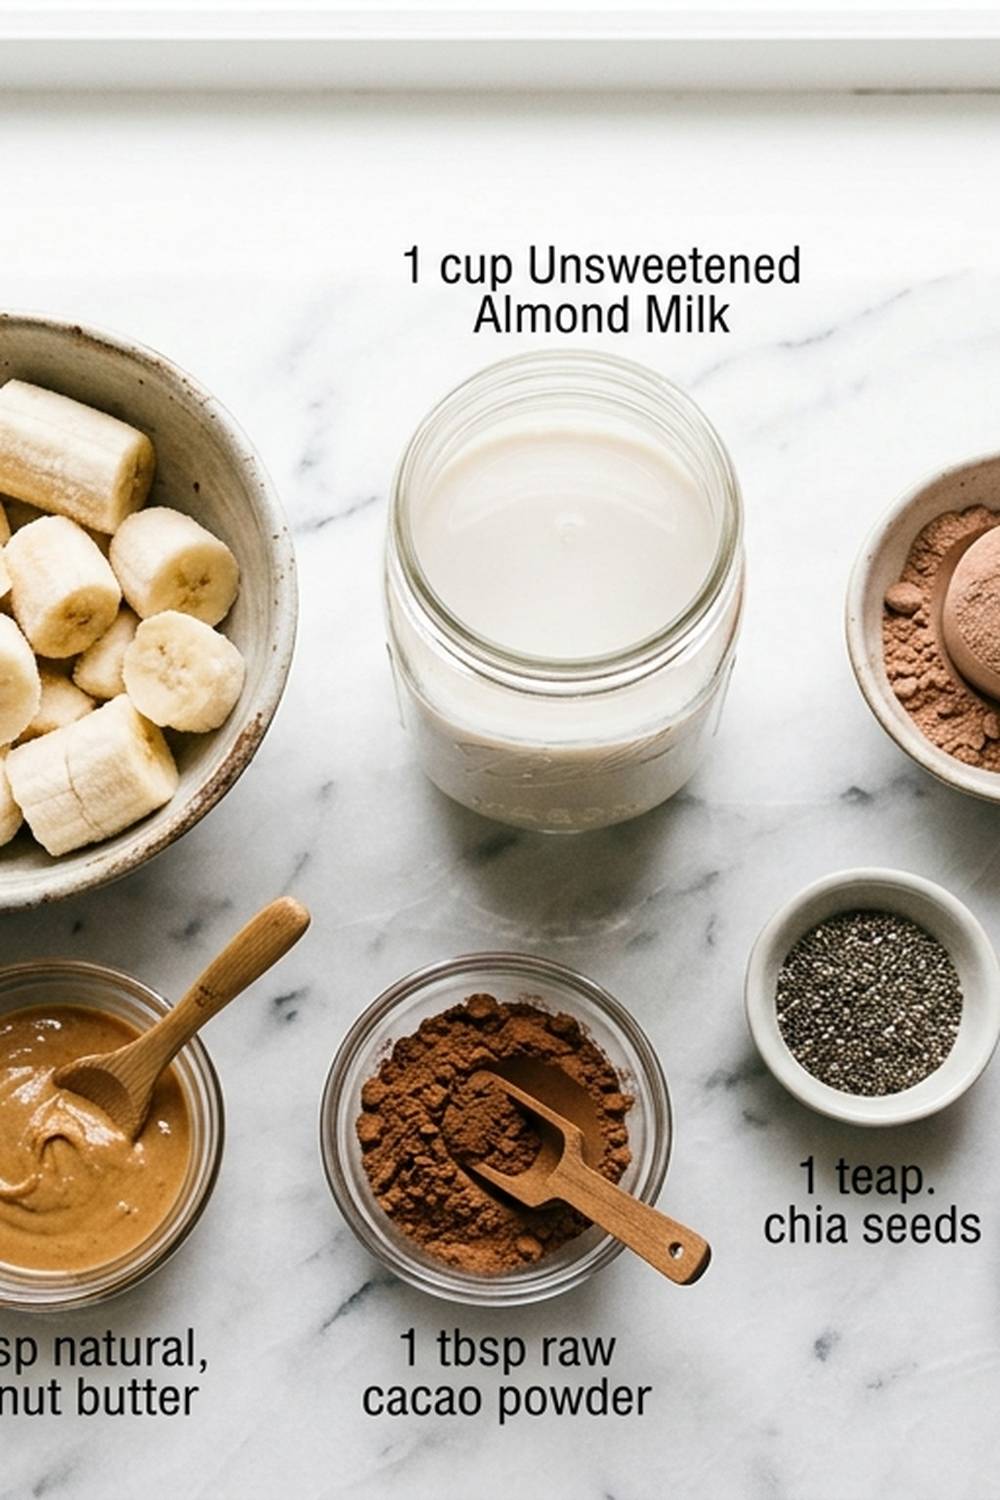
These ingredients form the foundation of your smoothie across every dietary variation. I’ve chosen them because they’re nutrient-dense, accessible, and they create that perfect balance of creamy texture and deep chocolate-peanut flavor that makes you feel nourished instead of deprived. The magic happens because these whole foods work together—no weird aftertaste, no gritty texture.
- 3 tablespoons unsweetened cocoa powder (the deeper the color, the richer the chocolate flavor)
- 2 tablespoons natural peanut butter (creamy or chunky works; just check for added oils if you’re sensitive)
- 1 cup liquid base (milk of your choice—dairy, almond, oat, or coconut all work beautifully)
- 1 large banana, frozen and chopped into chunks (or ½ avocado for keto versions)
- ½ teaspoon pure vanilla extract (not imitation; it makes a real difference in flavor depth)
- ½ cup ice cubes (optional, but creates that frosty texture I love)
Dietary Substitution Chart
I’ve made this chart so you can see exactly what swaps to make for your specific dietary needs. The percentages and timing stay the same—only these ingredients change. Print this out and keep it on your fridge for quick reference on busy mornings.
- Milk -> Keto: unsweetened almond or coconut milk (0g carbs) | Vegan: oat or coconut milk | Gluten-free: any milk (verify oat milk label) | Dairy-free: almond, cashew, or hemp milk
- Sweetener -> Keto: 1 tablespoon allulose or erythritol | Vegan: 1 tablespoon maple syrup or agave | Gluten-free: 1 tablespoon honey (unless vegan) | Dairy-free: honey or maple syrup
- Peanut Butter -> Keto: check label for carbs; almond butter works too | Vegan: use certified vegan peanut butter | Gluten-free: verify label for cross-contamination | Dairy-free: any nut butter works
- Banana -> Keto: substitute ½ avocado for creaminess without carbs | Vegan: keep frozen banana (naturally vegan) | Gluten-free: keep frozen banana | Dairy-free: keep frozen banana
How to Make Chocolate Peanut Butter Smoothie Recipe Your Way
I’ve taught hundreds of people how to blend smoothies that actually taste good, and I’ve learned that method matters just as much as ingredients. The order you add things, how long you blend, and the temperature of your base all affect the final texture. Follow these steps, and you’ll get a silky, restaurant-quality smoothie every single time.
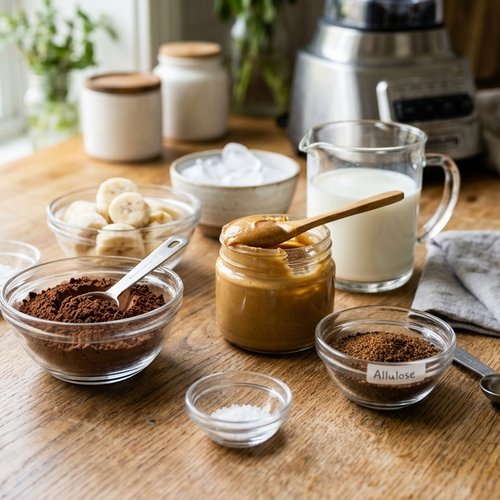
Step 1: Gather and Measure Your Ingredients
Before you touch the blender, pull everything out and measure it. This takes 30 seconds and prevents the frustration of halfway through blending and realizing you forgot the cocoa powder. For keto versions, make sure your allulose is fine-grain so it blends smoothly. For vegan versions, have your maple syrup at room temperature—cold sweetener sometimes doesn’t distribute evenly.
Step 2: Add Your Liquid First
Pour your milk into the blender bowl first. This might seem odd, but it creates space for the heavier ingredients to settle and blend more evenly. It’s the difference between a thick smoothie and one that has separated layers. If you’re using dairy milk, I recommend letting it sit at room temperature for 15 minutes before blending—cold milk can make the banana less creamy.
Step 3: Add Cocoa Powder and Sweetener
Sprinkle the cocoa powder directly into the milk. Then add your sweetener—whether that’s honey for the standard version, erythritol for keto, or maple syrup for vegan. The reason I add these before the banana is that the liquid helps distribute the powder evenly, preventing those little cocoa clouds that sometimes clump. For gluten-free versions, triple-check your cocoa powder label to ensure no cross-contamination in the manufacturing facility.
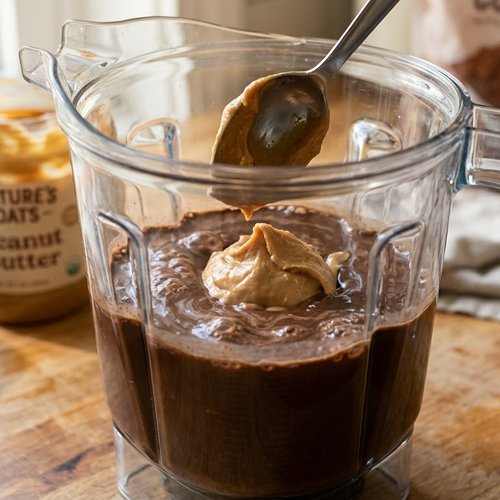
Step 4: Add Peanut Butter
Drop your peanut butter into the liquid mixture. Don’t stir it first; the blending action will incorporate it. For dairy-free versions using thick nut butters, you can warm the peanut butter slightly in a microwave (just 10 seconds) so it blends more easily without requiring extra blending time.
Step 5: Layer Your Frozen Banana or Avocado
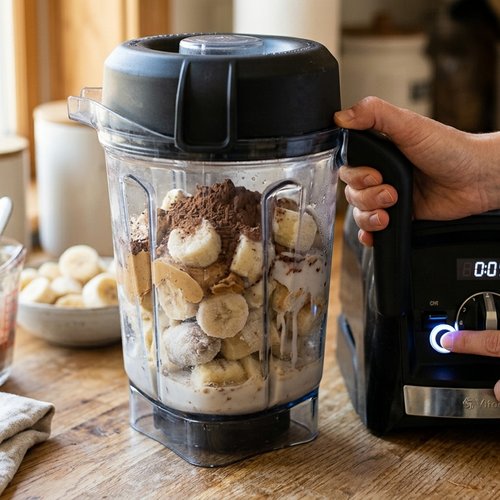
Add your frozen banana pieces (or avocado for keto). The frozen fruit goes in after the wet ingredients so it doesn’t sit at the bottom and blend unevenly. If you’re using avocado instead of banana, the smoothie will be slightly less sweet, so you might want an extra ½ tablespoon of your chosen sweetener.
Step 6: Add Vanilla and Blend
Add the vanilla extract and secure the blender lid. Start on low speed for 5 seconds—this breaks down the big chunks. Then increase to high speed and blend for 45 seconds to 1 minute, until completely smooth. You’ll know it’s done when you can’t see any cocoa specks and the mixture moves like silk when you tilt the pitcher.
Step 7: Add Ice (Optional) and Final Blend
If you want a thicker, frostier smoothie, add ½ cup ice cubes and blend on high for another 15-20 seconds. This step is especially important for vegan and dairy-free versions, which can sometimes feel thinner than dairy-based smoothies. The ice creates that frozen-treat texture that makes breakfast feel indulgent.
Step 8: Pour and Serve Immediately
Pour into two glasses and serve right away. This smoothie is best consumed within 5 minutes of blending, while it’s still cold and frothy. If you need to make it ahead for meal prep, see the storage section below.
Expert’s Nutritional Tip
Here’s something I tell my patients that most people miss: the combination of peanut butter and banana creates a nearly complete protein profile. The banana provides potassium and B vitamins, while peanut butter delivers protein and healthy fats that slow digestion. This means your blood sugar stays stable for 3-4 hours, preventing that mid-morning energy crash. The cocoa adds polyphenols—powerful antioxidants that support heart health. When you drink this smoothie, you’re not just having breakfast; you’re giving your body real fuel.
Nutrition Comparison Across Versions
I pulled these numbers from USDA nutritional databases and calculated them based on standard serving sizes. Remember that these are estimates—exact numbers depend on your specific brands. The standard version (with dairy milk and honey) comes in around 280 calories, 12g protein, 35g carbs, and 11g fat per serving. The keto version drops to roughly 210 calories, 10g protein, 8g net carbs, and 14g fat—a significant shift that keeps you in ketosis. The vegan version stays close to the standard at 275 calories with 11g protein, and the dairy-free version hovers around 260 calories depending on which milk alternative you choose.
What surprises people is that all versions hit similar protein targets despite the ingredient swaps. That’s intentional. Whether you’re dairy-free or keto, you deserve a smoothie that actually sustains you through the morning.
How Each Version Tastes Different
I want to be honest with you here—each version tastes genuinely different, and that’s not a flaw. It’s a feature.
The standard version tastes like a peanut butter cup turned liquid. It’s rich, slightly sweet, and creamy. You taste the banana underneath, which adds natural sweetness and body.
The keto version tastes deeper, more intensely chocolatey. Without the banana’s sweetness, the cocoa flavor really shines. Adding the avocado creates an almost fudgy texture—it’s less “breakfast smoothie” and more “healthy mousse.” It’s satisfying in a completely different way.
The vegan version using maple syrup has a slightly earthier taste—the maple plays beautifully against the chocolate and peanut. It feels more autumn-inspired, even if you’re drinking it in July. Some people prefer this version because it feels less sweet overall.
The dairy-free version depends on which milk you choose. Oat milk creates creaminess similar to dairy. Almond milk gives a slightly nuttier edge that actually complements the peanut butter beautifully. Coconut milk brings tropical notes you don’t expect—it’s wonderful if you love that flavor combination.
Can I Store Chocolate Peanut Butter Smoothie Recipe?
Yes, and this is where meal prep becomes your best friend. I make smoothies on Sunday and drink them throughout the week. Here’s exactly how to do it successfully.
Refrigerated (Best for 24 hours): Pour your blended smoothie into a glass container with an airtight lid and refrigerate. The texture changes slightly—it becomes thicker as the banana breaks down further—but it’s still delicious. Give it a good shake before drinking.
Freezer Prep (Best for up to 3 months): This is my favorite method. Before blending, portion your dry ingredients (cocoa powder, peanut butter, sweetener, vanilla) into freezer bags. Add your frozen banana pieces to the same bag. On smoothie day, dump the bag contents into your blender with your liquid and ice, blend, and serve. For keto versions, measure your avocado fresh each time since frozen avocado becomes mushy. This method saves 5 minutes every morning.
Smoothie Popsicles: Pour your finished smoothie into popsicle molds and freeze for 6-8 hours. These are incredible on warm days and work beautifully for all dietary versions. Kids especially love this option.
Make-Ahead Guide
As a dietitian who works with busy families, I’ve learned that smoothies that fit into your actual life are smoothies you’ll keep making. Here’s my professional make-ahead system.
Sunday Prep (15 minutes total): Make 4-5 freezer bags with dry ingredients. Label each with the date and dietary version (helpful if you’re making multiple versions for different family members). Line them up in your freezer. Each morning, grab one bag and blend. This method means you’ll actually drink these smoothies instead of them becoming another good intention.
Batch Blending: If you prefer finished smoothies, blend all your smoothies at once on Sunday using a larger batch size. Divide into glass containers with tight lids. Shake well before each serving. This works best for the standard version; keto versions separate slightly as the cocoa settles.
Quick Morning Tip: Freeze your peanut butter in ice cube trays (1 tablespoon per cube) so you can grab exactly what you need without measuring. This tiny step saves time and reduces cleanup.
What to Serve With Chocolate Peanut Butter Smoothie Recipe?
This smoothie is substantial enough to be a complete breakfast on its own, but sometimes you want something to go with it. Here are my go-to pairings for each dietary version.
- Standard version – Pair with a slice of whole grain toast topped with almond butter, or enjoy alongside our Butter Tart Recipe for a weekend breakfast treat. The smoothie’s protein balances the tart’s sweetness beautifully.
- Keto version – Add a side of scrambled eggs (the protein keeps you satisfied) or a handful of nuts. The keto smoothie is hearty enough that many people skip the side entirely.
- Vegan version – Try it with a Basic Bun Recipe topped with dairy-free butter and jam, or simply enjoy it with a handful of raw almonds for crunch.
- Dairy-free version – This pairs wonderfully with fresh fruit on the side (berries especially) or a granola bar made with coconut oil. The contrast between cold smoothie and crunchy granola is really satisfying.
Common Mistakes to Avoid
I see these mistakes constantly in my practice, and they’re so easy to fix once you know what to look for.
Mistake #1: Not freezing your banana ahead of time. Room-temperature banana creates a thin, watery smoothie that tastes more like banana milk than chocolate peanut butter. Frozen banana creates thickness and cold temperature. Freeze banana pieces in a zip-top bag for at least 4 hours before blending. Your texture will be infinitely better.
Mistake #2: Using old peanut butter. If your peanut butter tastes rancid or has separated into a pool of oil on top with a hard bottom layer, it’s past its prime. Natural peanut butter (the kind I recommend) goes rancid faster than conventional. Buy smaller jars and store them in the refrigerator after opening. Your smoothie will taste noticeably fresher.
Mistake #3: Skipping the vanilla extract. I know it seems like one small ingredient, but vanilla adds depth that makes the chocolate and peanut taste richer and more complex. Without it, the smoothie tastes flatter. Always use pure vanilla, never imitation, and always measure it—too much creates a perfume-like taste.
Mistake #4: Not securing the blender lid properly. This one’s less about taste and more about your kitchen being covered in chocolate smoothie. Secure the lid with both hands and make sure it’s fully seated before you start blending, especially when moving from low to high speed.
Seasonal Variations
One of my favorite things about this recipe is that it adapts beautifully throughout the year. You don’t need different recipes; you just swap one or two ingredients.
Summer: Add ½ teaspoon espresso powder to the cocoa (it intensifies chocolate flavor without tasting like coffee) and use coconut milk instead of dairy. Freeze extra smoothies as popsicles. The tropical, icy element feels perfect for hot weather.
Fall: Swap the vanilla for pumpkin pie spice (¼ teaspoon) and use almond milk. Add a tiny pinch of sea salt. The earthiness feels seasonal and cozy, even though there’s no actual pumpkin involved.
Winter: Use whole milk (the richest option) and add ¼ teaspoon of peppermint extract for a chocolate-peppermint version. This is my personal favorite—it tastes like the holidays in a glass.
Spring: Keep the recipe exactly the same but add fresh mint leaves (just 3-4) to the blender. The mint adds brightness without changing the core chocolate-peanut flavor. It feels light and refreshing as the weather warms.
Chocolate Peanut Butter Smoothie Recipe
Ingredients
- 3 tablespoon unsweetened cocoa powder the deeper the color, the richer the chocolate flavor
- 2 tablespoon natural peanut butter creamy or chunky works; just check for added oils if you're sensitive
- 1 cup liquid base (milk of your choice
- 1 large banana, frozen and chopped into chunks or ½ avocado for keto versions
- ½ teaspoon pure vanilla extract not imitation; it makes a real difference in flavor depth
- ½ cup ice cubes optional, but creates that frosty texture I love
Instructions
Step 1: Gather and Measure Your Ingredients
- Before you touch the blender, pull everything out and measure it. This takes 30 seconds and prevents the frustration of halfway through blending and realizing you forgot the cocoa powder. For keto versions, make sure your allulose is fine-grain so it blends smoothly. For vegan versions, have your maple syrup at room temperature—cold sweetener sometimes doesn't distribute evenly.
Step 2: Add Your Liquid First
- Pour your milk into the blender bowl first. This might seem odd, but it creates space for the heavier ingredients to settle and blend more evenly. It's the difference between a thick smoothie and one that has separated layers. If you're using dairy milk, I recommend letting it sit at room temperature for 15 minutes before blending—cold milk can make the banana less creamy.
Step 3: Add Cocoa Powder and Sweetener
- Sprinkle the cocoa powder directly into the milk. Then add your sweetener—whether that's honey for the standard version, erythritol for keto, or maple syrup for vegan. The reason I add these before the banana is that the liquid helps distribute the powder evenly, preventing those little cocoa clouds that sometimes clump. For gluten-free versions, triple-check your cocoa powder label to ensure no cross-contamination in the manufacturing facility.
Step 4: Add Peanut Butter
- Drop your peanut butter into the liquid mixture. Don't stir it first; the blending action will incorporate it. For dairy-free versions using thick nut butters, you can warm the peanut butter slightly in a microwave (just 10 seconds) so it blends more easily without requiring extra blending time.
Step 5: Layer Your Frozen Banana or Avocado
- Add your frozen banana pieces (or avocado for keto). The frozen fruit goes in after the wet ingredients so it doesn't sit at the bottom and blend unevenly. If you're using avocado instead of banana, the smoothie will be slightly less sweet, so you might want an extra ½ tablespoon of your chosen sweetener.
Step 6: Add Vanilla and Blend
- Add the vanilla extract and secure the blender lid. Start on low speed for 5 seconds—this breaks down the big chunks. Then increase to high speed and blend for 45 seconds to 1 minute, until completely smooth. You'll know it's done when you can't see any cocoa specks and the mixture moves like silk when you tilt the pitcher.
Step 7: Add Ice (Optional) and Final Blend
- If you want a thicker, frostier smoothie, add ½ cup ice cubes and blend on high for another 15-20 seconds. This step is especially important for vegan and dairy-free versions, which can sometimes feel thinner than dairy-based smoothies. The ice creates that frozen-treat texture that makes breakfast feel indulgent.
Step 8: Pour and Serve Immediately
- Pour into two glasses and serve right away. This smoothie is best consumed within 5 minutes of blending, while it's still cold and frothy. If you need to make it ahead for meal prep, see the storage section below.
FAQs
Can I use regular peanut butter instead of natural peanut butter?
Yes, absolutely. Regular peanut butter (the kind with added sugars and stabilizers) will create a slightly sweeter smoothie, so you might want to reduce your added sweetener by ½ tablespoon. The texture will be virtually identical. I prefer natural peanut butter because it has more real peanut flavor and no added oils, but if you have regular peanut butter in your pantry, use it. A smoothie made is better than a smoothie not made because you’re waiting for the “perfect” ingredients.
Can I use PB2 or powdered peanut butter to reduce calories?
You can, but you’ll need to adjust your recipe slightly. PB2 requires liquid to reconstitute. Mix your PB2 with 1½ tablespoons of water first to create a paste, then add it to the blender. This works for all dietary versions, though the smoothie will be slightly less creamy since you’re removing fat. The chocolate flavor becomes more prominent when there’s less peanut fat to carry it. Some people actually prefer this version because it tastes less heavy.
Is this smoothie suitable for children?
Completely. This is one of my favorite smoothies to make for kids because it tastes like chocolate milk but contains actual nutrition. The protein keeps them satisfied through school or activities. For very young children (under age 5), use creamy peanut butter rather than chunky to prevent choking risk. The standard version with dairy milk is perfect for kids; the keto version might be more than they need unless they have specific health reasons for low-carb eating.
Can I add protein powder to make this more filling?
Yes, and this is smart if you find the base smoothie leaves you hungry after 2 hours. Add 1 scoop (20-25g) of chocolate or vanilla protein powder. For vegan versions, use plant-based protein powder. The smoothie will be thicker and more filling. You might need to add an extra tablespoon of liquid since protein powder absorbs moisture. This adjustment works beautifully for all dietary versions.
What if I can’t eat peanuts due to allergies?
Swap the peanut butter for any nut butter you can eat safely: almond, cashew, sunflower seed, or tahini all work. Sunflower seed butter is actually my favorite substitute because it’s naturally lighter and creates a slightly less dense smoothie. Tahini creates a more sophisticated flavor—less sweet, more savory. The base recipe remains exactly the same; you’re just swapping the fat source. All dietary versions work with these substitutions.
More Diet-Friendly Recipes
- my homemade ice cream – When you want that chocolate-peanut butter flavor in dessert form with meal prep options for every diet
- 9×13 Brownie Recipe – The perfect chocolate base for creating multiple dietary versions in one pan
- this simple cake – A dairy-based dessert that can be adapted for vegan and keto diets with simple substitutions
- Maple Glazed Doughnuts – Another recipe with natural sweetness that works across multiple dietary approaches
Final Thoughts
Here’s what I want you to know: Your dietary restrictions don’t mean you lose the foods you love. They mean you get creative. They mean you find new ways to experience the flavors that bring you joy. This chocolate peanut butter smoothie proves that every single day.
Whether you’re keto, vegan, gluten-free, dairy-free, or just a regular person who wants breakfast to taste good, you deserve something delicious. You deserve a smoothie that takes 2 minutes to make and tastes like you spent an hour in the kitchen. You deserve to eat in a way that honors both your health and your cravings.
Make this smoothie. Make it again next week. Make it in a different version for a friend with different dietary needs. Share it with someone you love. And let me know how it turns out. Happy Cooking!